johnhenry 1.0.13 → 1.0.14
Sign up to get free protection for your applications and to get access to all the features.
- checksums.yaml +4 -4
- data/README.md +157 -0
- data/lib/johnhenry/version.rb +1 -1
- metadata +2 -1
checksums.yaml
CHANGED
|
@@ -1,7 +1,7 @@
|
|
|
1
1
|
---
|
|
2
2
|
SHA1:
|
|
3
|
-
metadata.gz:
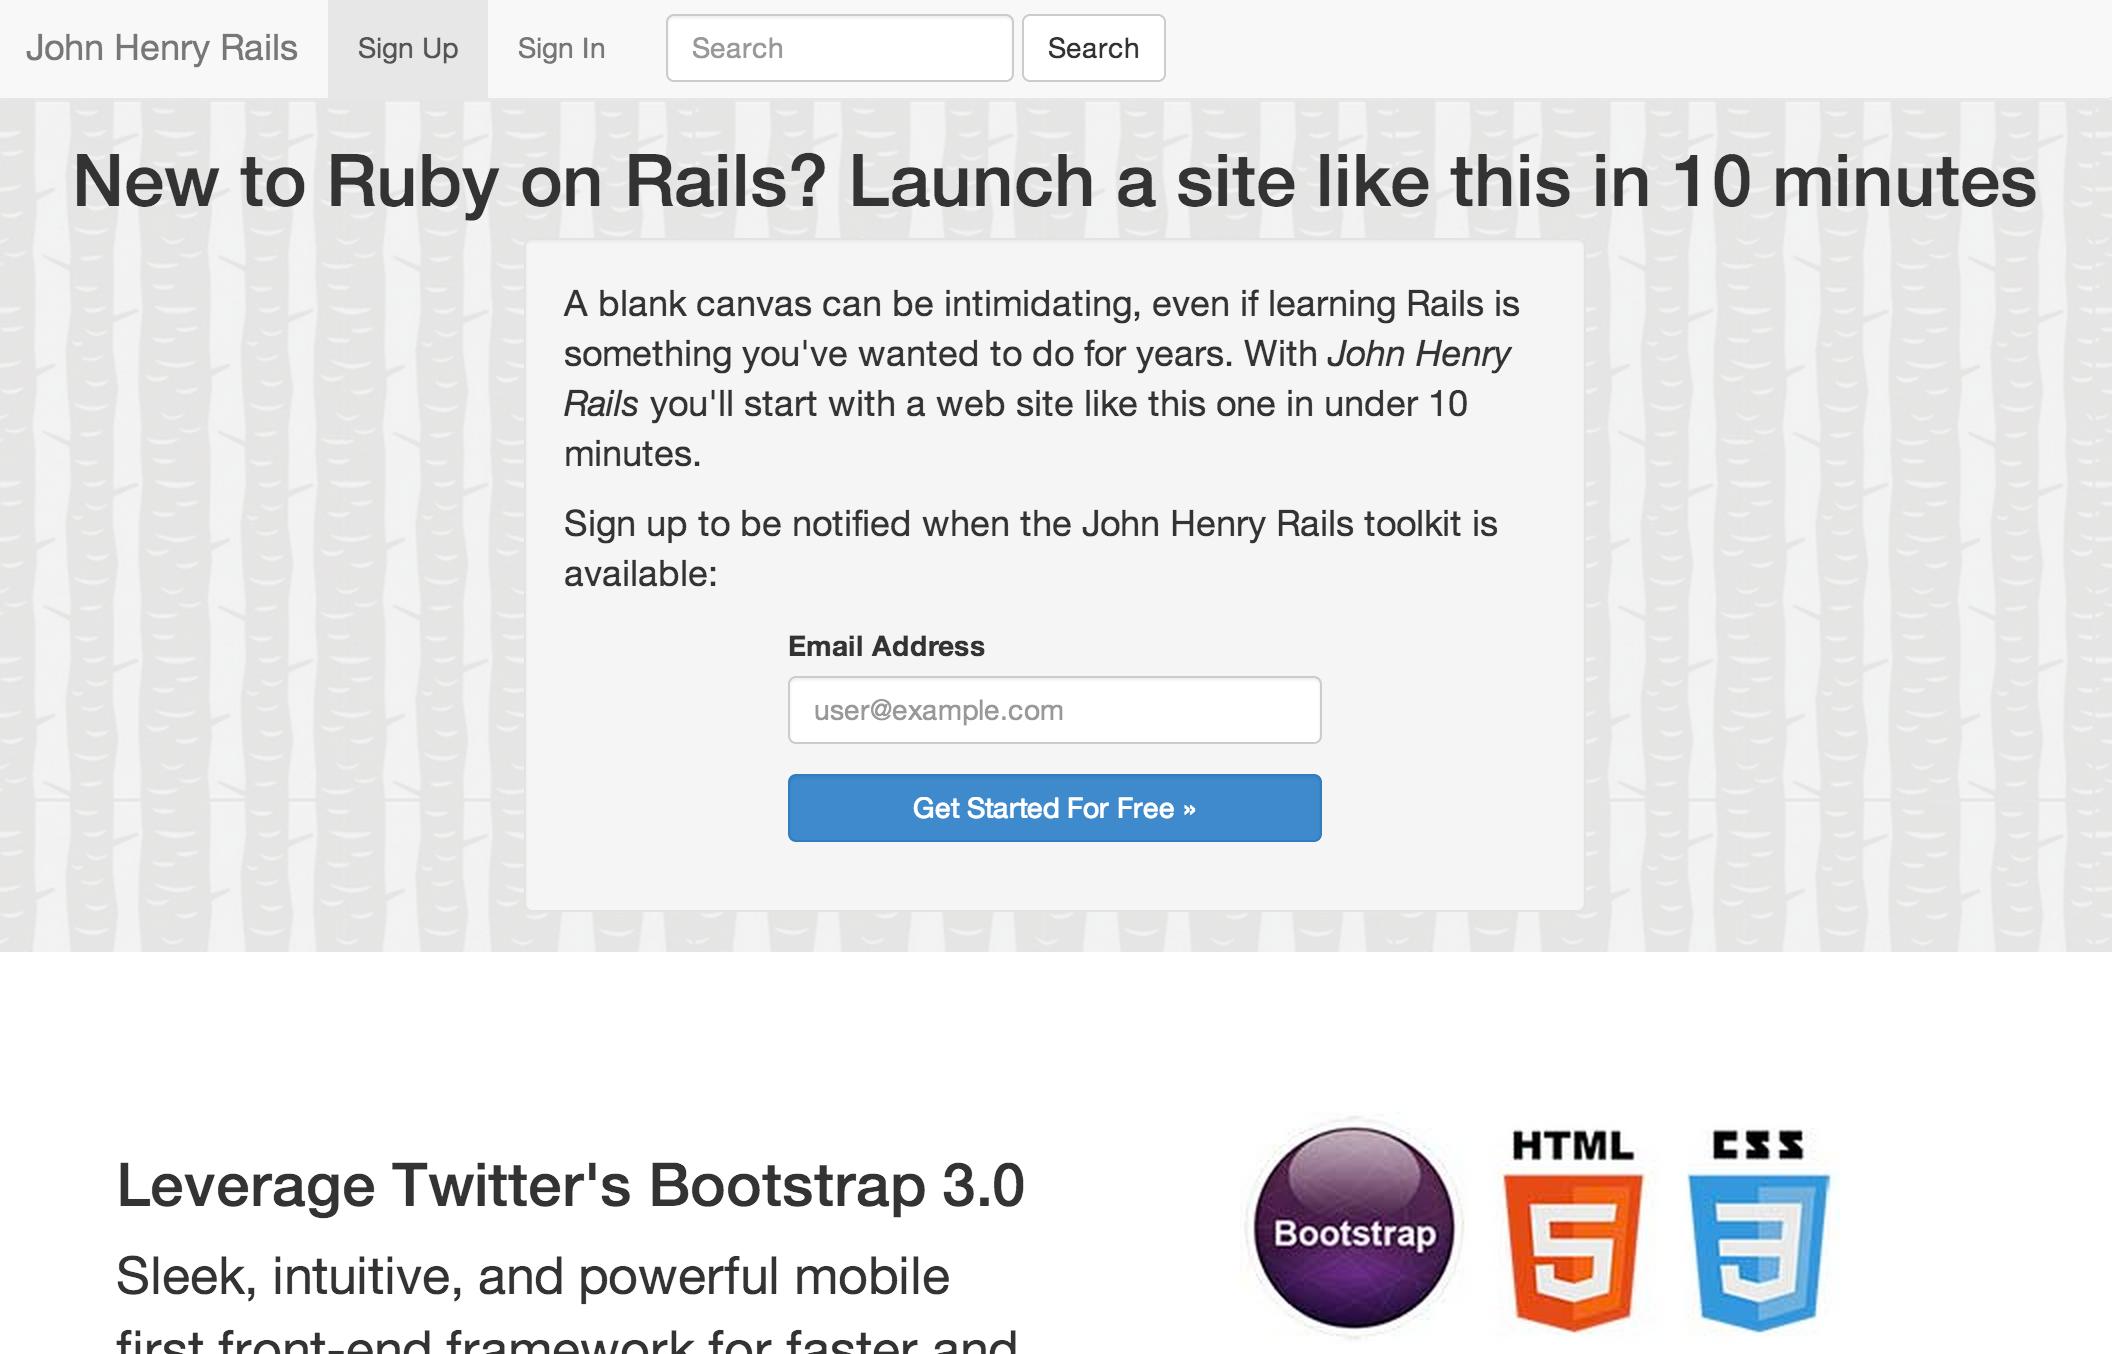
|
|
4
|
-
data.tar.gz:
|
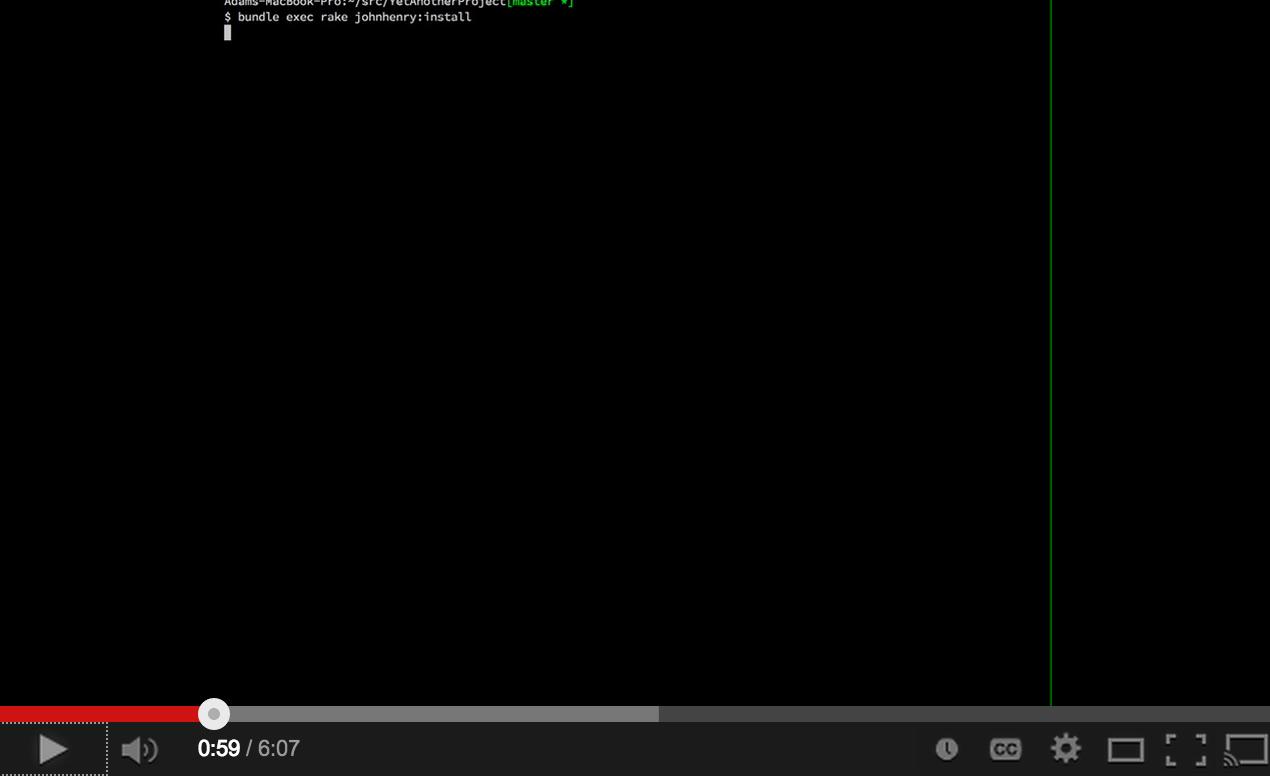
|
3
|
+
metadata.gz: 7d6f3b8a71ee41cb8b313beb13964f44e27b9cfd
|
|
4
|
+
data.tar.gz: b8adbb5d6c564192af5df45302a3e29db4bff70f
|
|
5
5
|
SHA512:
|
|
6
|
-
metadata.gz:
|
|
7
|
-
data.tar.gz:
|
|
6
|
+
metadata.gz: 50ec09fd99a200d9fc5888dc1eca83bf6fb42d193a2c0d3a5392698edd468114a9a0cce4ef877021a5c148e075567ab24a8b3a9329e87fa7312e0a464bdcdbd1
|
|
7
|
+
data.tar.gz: 0339ee24696ee992232a36a0611c75a3a93c4b4b2ce2fb354df64846bb7ff8a5e073c8133609a4709fc7233b317564a4534204a4fa21420d05e85ee922cfb8c7
|
data/README.md
ADDED
|
@@ -0,0 +1,157 @@
|
|
|
1
|
+
# Introduction
|
|
2
|
+
The JohnHenry Rails toolkit is meant to take care of all the menial tasks of
|
|
3
|
+
launching a Rails application, that are largely the same from application to
|
|
4
|
+
application. Using JohnHenry, you'll have the sample project live on a Heroku
|
|
5
|
+
subdomain of your choosing (e.g. `johnhenryrails.herokuapp.com`) in under ten
|
|
6
|
+
minutes, even if you don't know anything about Ruby on Rails!
|
|
7
|
+
|
|
8
|
+
Once you've launched your application, you can easily customize it to be a
|
|
9
|
+
landing page to collect emails for a new product. And when you've got a feature
|
|
10
|
+
you want users to pay for, JohnHenry's payment form is ready for you to use.
|
|
11
|
+
|
|
12
|
+
If you're already a Ruby on Rails expert, JohnHenry still provides value. It's
|
|
13
|
+
step 2 after `rails new MyProject`. Save 1-2 weeks of boilerplate development
|
|
14
|
+
setting up Bootstrap, Devise, Stripe, etc and concentrate on building the
|
|
15
|
+
product you want to build!
|
|
16
|
+
|
|
17
|
+
# Technologies Included
|
|
18
|
+
The following libraries and technologies are configured by JohnHenry and
|
|
19
|
+
work out of the box:
|
|
20
|
+
- Devise for user authentication / management
|
|
21
|
+
- Stripe (JS, Gem) for handling payments
|
|
22
|
+
- Bootstrap 3
|
|
23
|
+
- HAML
|
|
24
|
+
- SCSS
|
|
25
|
+
- jQuery
|
|
26
|
+
- Heroku-ready
|
|
27
|
+
|
|
28
|
+
# Screenshots and Demo
|
|
29
|
+
[](http://www.johnhenryrails.com)
|
|
30
|
+
|
|
31
|
+
A brand new Rails 4 project with *just* JohnHenry is live at:
|
|
32
|
+
[http://www.johnhenryrails.com](http://www.johnhenryrails.com)
|
|
33
|
+
This is exactly what you will end up with after installing.
|
|
34
|
+
|
|
35
|
+
# Installation screencast
|
|
36
|
+
[](http://www.youtube.com/watch?v=Tb-4UdGxzqU)
|
|
37
|
+
|
|
38
|
+
# Installation on Mac OS X
|
|
39
|
+
#### .. and probably Linux
|
|
40
|
+
All commands are run via Terminal, which you can find in your
|
|
41
|
+
Applications folder. If you're already using Terminal, try switching to iTerm
|
|
42
|
+
and see if you like it any better. Other version controls may work, but it's
|
|
43
|
+
assumed the user is using `git`. I build `git` from source using
|
|
44
|
+
[brew](http://brew.sh/).
|
|
45
|
+
|
|
46
|
+
Note: this assumes that you've already got Ruby 2.0 and a Rails 4.0+ gem
|
|
47
|
+
installed. If you haven't, head over to http://rvm.io and then come back. You
|
|
48
|
+
can verify both with:
|
|
49
|
+
|
|
50
|
+
```bash
|
|
51
|
+
$ ruby -v
|
|
52
|
+
ruby 2.0.0p247 (2013-06-27 revision 41674) [x86_64-darwin12.3.0]
|
|
53
|
+
Adams-MacBook-Pro:~/src/johnhenry[master *+%]
|
|
54
|
+
$ rails -v
|
|
55
|
+
Rails 4.0.2
|
|
56
|
+
```
|
|
57
|
+
|
|
58
|
+
1. Create a new Rails project:
|
|
59
|
+
`rails new SampleProject && cd SampleProject`
|
|
60
|
+
|
|
61
|
+
1. Edit `Gemfile` and just below `rails` add:
|
|
62
|
+
`gem 'johnhenry'`
|
|
63
|
+
|
|
64
|
+
1. Run `bundle` to update `Gemfile.lock`
|
|
65
|
+
|
|
66
|
+
1. Run JohnHenryRails installation script:
|
|
67
|
+
`bundle exec rake john_henry:install`
|
|
68
|
+
|
|
69
|
+
1. Commit the generated changes:
|
|
70
|
+
|
|
71
|
+
```bash
|
|
72
|
+
git add app config Gemfile*
|
|
73
|
+
git rm app/views/layouts/application.html.erb
|
|
74
|
+
git commit -m 'Install JohnHenryRails'
|
|
75
|
+
```
|
|
76
|
+
|
|
77
|
+
1. Install database migrations and run them
|
|
78
|
+
```bash
|
|
79
|
+
bundle exec rake john_henry:install:migrations
|
|
80
|
+
bundle exec rake db:migrate
|
|
81
|
+
git add db && git commit -m 'Add initial migrations and schema.rb'
|
|
82
|
+
```
|
|
83
|
+
|
|
84
|
+
1. Try the server locally:
|
|
85
|
+
```bash
|
|
86
|
+
bundle exec rails server
|
|
87
|
+
```
|
|
88
|
+
and load `http://localhost:3000/` in your web browser of choice.
|
|
89
|
+
|
|
90
|
+
1. Create the Heroku instance:
|
|
91
|
+
```bash
|
|
92
|
+
heroku create sampleproject # Heroku doesn't allow mixed case
|
|
93
|
+
git push heroku master
|
|
94
|
+
heroku run rake db:migrate
|
|
95
|
+
heroku restart
|
|
96
|
+
```
|
|
97
|
+
|
|
98
|
+
1. Verify in your web browser: `http://sampleproject.herokuapp.com`
|
|
99
|
+
|
|
100
|
+
Congratulations! You made something on the internet!
|
|
101
|
+
|
|
102
|
+
## Extended / Optional Setup
|
|
103
|
+
1. Set up Stripe and Google Analytics:
|
|
104
|
+
```bash
|
|
105
|
+
heroku config:set \
|
|
106
|
+
GOOGLE_ANALYTICS_DOMAIN=sampleproject.herokuapp.com \
|
|
107
|
+
GOOGLE_ANALYTICS_UA=UA-56346779-1 \
|
|
108
|
+
STRIPE_PUBLISHABLE_KEY=pk_zv4FnnuZ28LFHccVSajbQQaTxnaZl
|
|
109
|
+
STRIPE_SECRET_KEY=lbVrAG8WhPb2cHG9ryBBi1psT4ZREpm8
|
|
110
|
+
```
|
|
111
|
+
|
|
112
|
+
1. Add the free tier of SendGrid to enable user account emails:
|
|
113
|
+
```bash
|
|
114
|
+
heroku addons:add sendgrid:starter
|
|
115
|
+
```
|
|
116
|
+
|
|
117
|
+
1. Add pgbackups and take your first database backup:
|
|
118
|
+
```bash
|
|
119
|
+
heroku addons:add pgbackups
|
|
120
|
+
heroku pgbackups:capture
|
|
121
|
+
```
|
|
122
|
+
You can additionally schedule daily backups with Heroku's Scheduler:
|
|
123
|
+
```bash
|
|
124
|
+
heroku addons:add scheduler
|
|
125
|
+
heroku addons:open scheduler
|
|
126
|
+
```
|
|
127
|
+
|
|
128
|
+
1. Set up a monitoring service. UptimeRobot.com gives you 50 free monitors.
|
|
129
|
+
On Heroku, this has the added benefit of keeping your site active, so that
|
|
130
|
+
your dyno never hibernates and you never get a slow request because the dyno
|
|
131
|
+
was waking back up.
|
|
132
|
+
|
|
133
|
+
1. Set up a staging instance
|
|
134
|
+
|
|
135
|
+
1. (optional) Add a custom domain
|
|
136
|
+
`heroku domains:add www.johnhenryrails.com`
|
|
137
|
+
In your Registrar's host record configuration, you must add
|
|
138
|
+
`sampleproject.herokuapp.com.` as a CNAME for your domain.
|
|
139
|
+
|
|
140
|
+
1. Set up NewRelic
|
|
141
|
+
```
|
|
142
|
+
heroku addons:add newrelic:stark
|
|
143
|
+
echo "gem 'newrelic_rpm'" > Gemfile
|
|
144
|
+
bundle
|
|
145
|
+
curl https://gist.github.com/rwdaigle/2253296/raw/newrelic.yml > config/newrelic.yml
|
|
146
|
+
git add config/newrelic.yml Gemfile*
|
|
147
|
+
git commit -m "Set up NewRelic"
|
|
148
|
+
heroku config:set NEW_RELIC_APP_NAME="SampleProject"
|
|
149
|
+
git push heroku master
|
|
150
|
+
```
|
|
151
|
+
|
|
152
|
+
# Contributing
|
|
153
|
+
Bug fixes are welcome as pull requests against master. If you have bigger ideas,
|
|
154
|
+
please get in contact with me at `derewecki@gmail.com`.
|
|
155
|
+
|
|
156
|
+
# License
|
|
157
|
+
MIT License
|
data/lib/johnhenry/version.rb
CHANGED
metadata
CHANGED
|
@@ -1,7 +1,7 @@
|
|
|
1
1
|
--- !ruby/object:Gem::Specification
|
|
2
2
|
name: johnhenry
|
|
3
3
|
version: !ruby/object:Gem::Version
|
|
4
|
-
version: 1.0.
|
|
4
|
+
version: 1.0.14
|
|
5
5
|
platform: ruby
|
|
6
6
|
authors:
|
|
7
7
|
- Adam Derewecki
|
|
@@ -161,6 +161,7 @@ extensions: []
|
|
|
161
161
|
extra_rdoc_files: []
|
|
162
162
|
files:
|
|
163
163
|
- MIT-LICENSE
|
|
164
|
+
- README.md
|
|
164
165
|
- Rakefile
|
|
165
166
|
- app/assets/images/johnhenry/home/welcome/ga-screenshot.jpg
|
|
166
167
|
- app/assets/images/johnhenry/home/welcome/logo-bootstrap-html-css.jpg
|